Claim and manage your listing on Bing Places for business


Claiming and managing your listing on Bing Places for Business is a vital step for local businesses eager to boost their online presence. This platform can often serve as the direct bridge connecting curious customers to your services, which naturally helps crank up engagement and drives more local search traffic your way.
What Bing Places for Business Is and Why It Matters More Than You Might Think
Bing Places for Business is Microsoft's handy platform that helps local businesses set up and manage their online listings. These then show up in Bing Search and Microsoft Maps. Much like Google Business Profile it allows businesses to showcase essential details like hours, contact info, photos and the services they offer. While Google is the undeniable heavyweight in global search, Bing still holds its own especially in certain regions and among specific audiences. This makes it a smart move for reaching local customers.
Getting Ready to Claim Your Business on Bing Places A Handy Guide to Getting Started
Before diving into the Bing Places listing process, it is essential to double-check that your business information is spot-on and consistent across all your existing listings and online platforms. You’ll want to gather all the right details and have any required ownership documents at the ready to verify your business—trust me, it saves a headache later.
Make sure your business name matches exactly what’s on your signs and official documents—consistency here can save you a headache down the line.
Gather your full physical address, including any suite or unit number if that applies to make it super easy for individuals to find you.
Double-check that your business phone number is current and actually being answered. There’s nothing worse than a ringing phone that nobody picks up.
Have your website URL at the ready linking straight to your main business page so visitors don’t get lost in the weeds.
Clearly spell out your business hours including any holidays or special days you’re open—people appreciate knowing when you’re around.
Collect good-quality photos that really show off your storefront, products or team. Think of it as your business’s best smile.
Choose the business categories that fit your services like a glove so customers can easily find exactly what you offer.
Step-by-Step Guide to Claiming Your Bing Places for Business Listing (Because Every Business Deserves the Spotlight)
Claiming your Bing Places listing is surprisingly straightforward once you get the hang of it. This guide will take you step-by-step through setting up your account and hunting down your business listing. It also covers grabbing ownership and verifying your profile.
Head over to the Bing Places website at https://www.bingplaces.com—it's where the magic starts.
Sign in with your Microsoft account or if you’re like me and forgot you didn’t have one yet, go ahead and create it now.
Type in your business name and location to hunt down your listing.
If nothing pops up, just choose the option to add a new listing and get the ball rolling.
Once you spot your business, click to claim ownership like a pro.
Then, pick how you want to verify—phone or mail—and submit your claim to make it official.

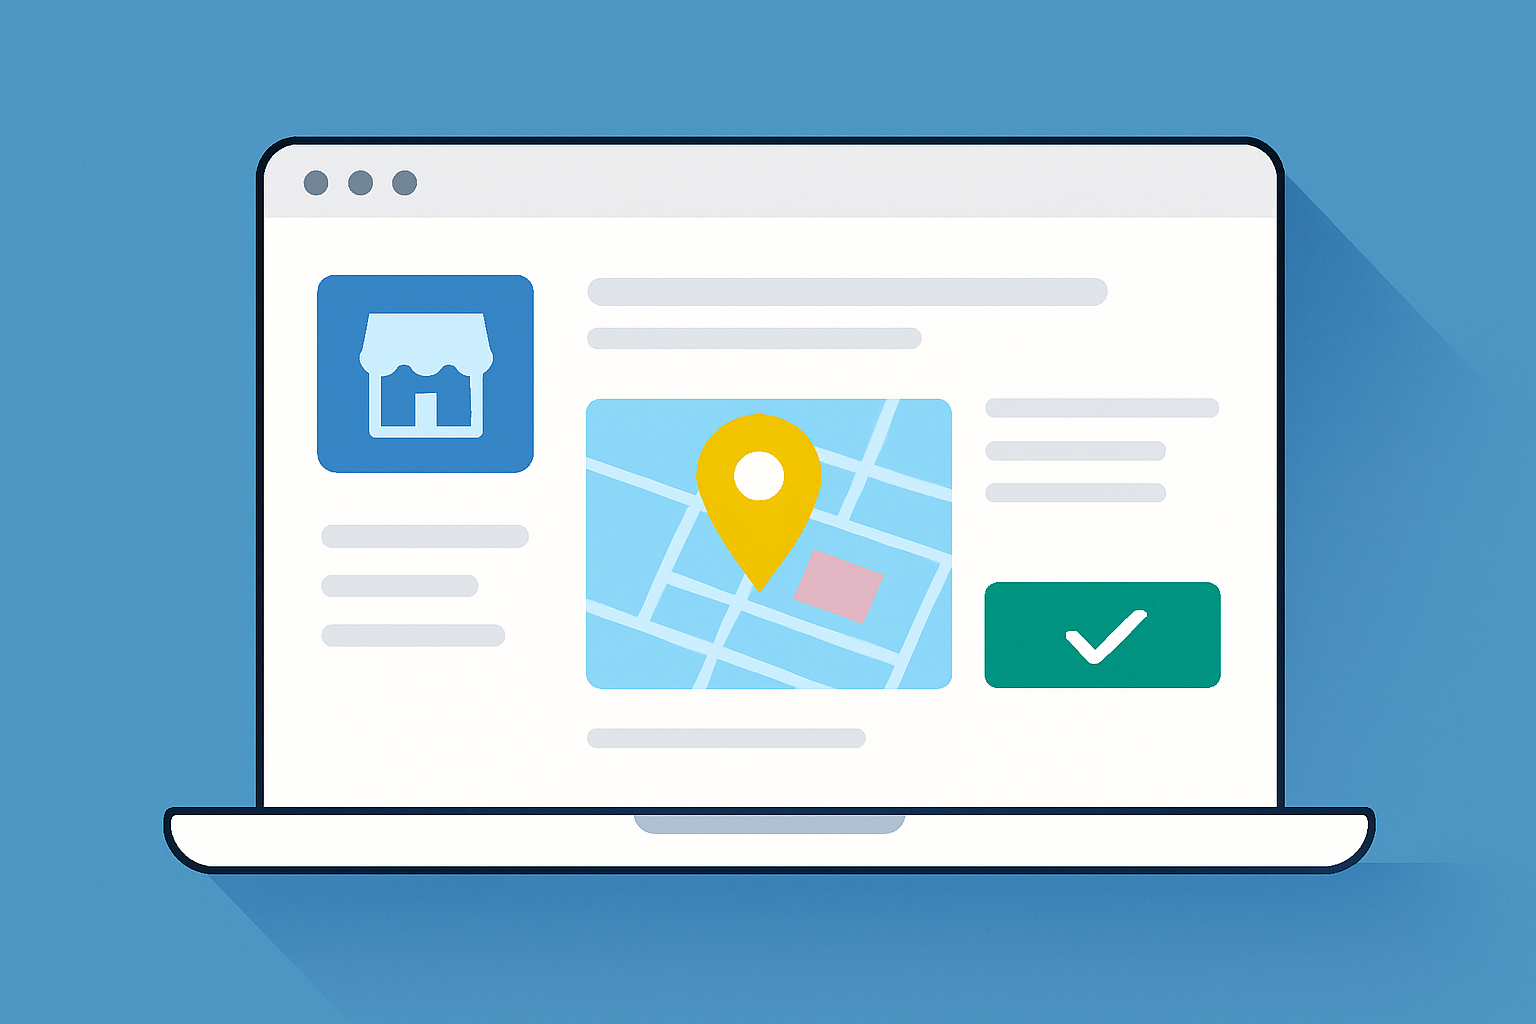
Bing Places dashboard with example business information and verification steps visible
Because Every Little Detail Counts
Keeping your Bing Places listing fresh and engaging is key to attracting customers and boosting your local SEO. I’ve found that regularly updating your business info and adding new photos helps. Responding to customer reviews and using Bing’s unique features like special hours or service descriptions also make your listing stand out in search results.
- Keep your business hours fresh and accurate especially when holidays or special occasions roll around—people appreciate knowing when they can drop by without surprises.
- Share crisp eye-catching images that show off your products, your friendly team, or the vibe that makes your business unique.
- Respond to customer reviews promptly and with genuine warmth. It’s a simple way to build trust and show you’re truly tuned in.
- Choose your business categories thoughtfully so Bing can match your listing with the right searchers.
- Take advantage of handy features like posting special offers, adding detailed services, or highlighting special hours. This gives customers all the info they need without leaving them guessing.
Typical Challenges and Tips for Successfully Claiming Your Listing
Navigating the process of claiming your listing can sometimes feel like threading a needle in a haystack. But don’t worry, with a bit of patience and a few tried-and-true tips up your sleeve, you’ll get there. In my experience, understanding the common hurdles and knowing how to tackle them makes all the difference. So, let’s dive in and turn those tricky moments into smooth sailing.
Many businesses hit a few bumps in the road when trying to claim their Bing Places listing. Issues like not being able to find their business and verification dragging its feet tend to pop up more often than you’d think. Duplicate listings or outdated info also appear frequently.
- If your business isn’t showing up yet, go ahead and create a new listing to get yourself into Bing’s directory sooner rather than later.
- When verification takes longer than you expected, double-check your contact details because a small mistake there can cause problems. If needed, request a new PIN and keep things moving.
- If you find duplicate listings causing clutter, report them to Bing so they can clean up by merging or removing those duplicates that might confuse customers.
- Whenever you spot any incorrect or outdated information, fix it right from your dashboard and request a re-verification if something seems off.
How to Use Bing Places Insights to Give Your Business Profile a Real Boost
Bing Places dishes out some handy analytics that let you keep tabs on how your listing is performing.
- Keep an eye on how many views and clicks your listing racks up to get a real sense of its reach.
- Pay attention to customer interactions like calls or website visits that stem from your listing. These signals can tell you a lot.
- Notice the kind of search queries that lead people to your business and adjust your keywords to better catch their eye.
- Keep your listing details fresh and tweak them based on what you’re learning. Focus on the info customers love most to boost conversion rates.

Bing Places analytics panel highlighting user engagement metrics and search data
How to Keep Your Bing Places Listing Effective Over Time (Without Losing Your Mind)
Keeping your Bing Places for Business listing up to date is key for long-term success. It's a good idea to check in regularly and make timely updates. Interact with customers—these small efforts really pay off by keeping your profile relevant and competitive in local search results.
- Make it a habit to regularly check your listing to keep all information accurate and complete. Trust me, it pays off in the long run.
- Keep things lively by updating photos and adjusting seasonal hours or promotions so your profile never feels outdated.
- Respond to new reviews quickly and with a professional touch because it’s a great way to build strong, lasting connections with your customers.
- Take a moment to compare your Bing listing details with other directories and platforms to keep everything consistent and avoid any awkward mix-ups.


